Upgrade Your Windows Workspace Display
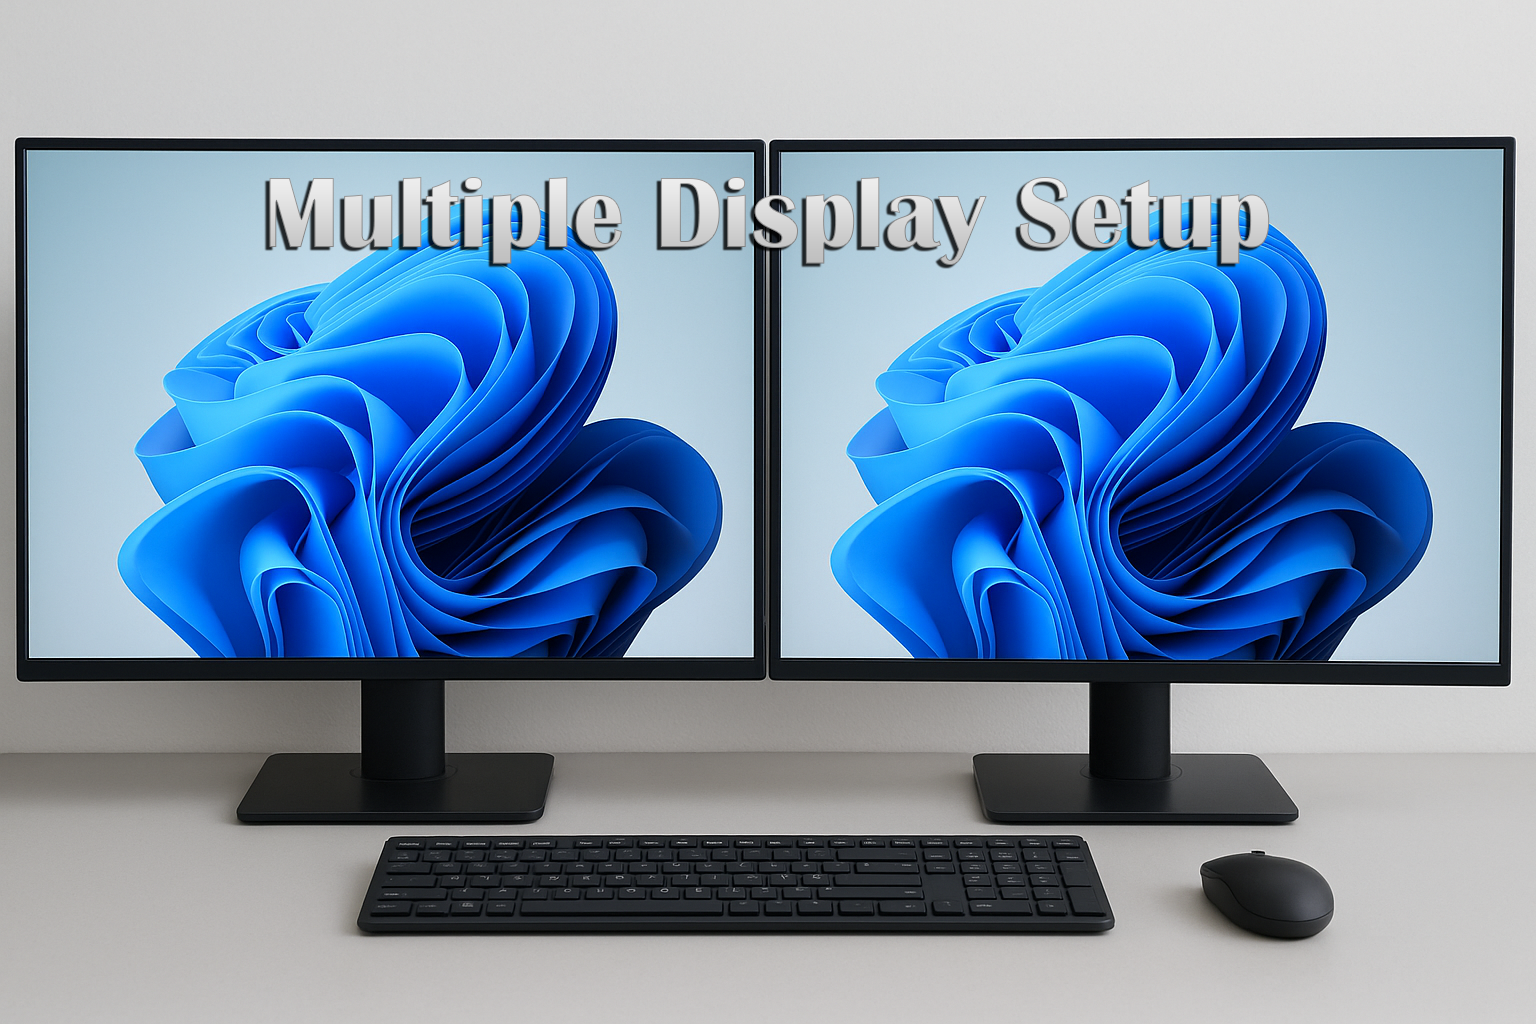
Upgrade your workspace and boost your efficiency by adding multiple monitors to your Windows 11 setup. Whether you’re a professional multitasking on various applications, a gamer seeking an immersive experience, or simply someone who appreciates extra screen real estate, this guide will walk you through the setup process and help you resolve common issues that may arise.
Getting Started: The Physical Connection
Before diving into Windows 11’s settings, ensure your monitors are correctly connected to your computer.
- Check Your Ports: Identify the video output ports on your computer. Common types include HDMI, DisplayPort, USB-C (with Thunderbolt or DisplayPort support), and the older DVI and VGA.
- Match Your Cables: Use the appropriate cables to connect your monitors to your computer. If your computer’s port doesn’t match your monitor’s input, you may need an adapter (e.g., HDMI to DVI).
- Power Up: Connect each monitor to a power source and turn them on. Windows 11 should automatically detect the new displays.
Configuring Your Displays in Windows 11
Once your monitors are physically connected, it’s time to configure them within Windows 11 to suit your workflow.
- Open Display Settings: Right-click on your desktop and select “Display settings.”
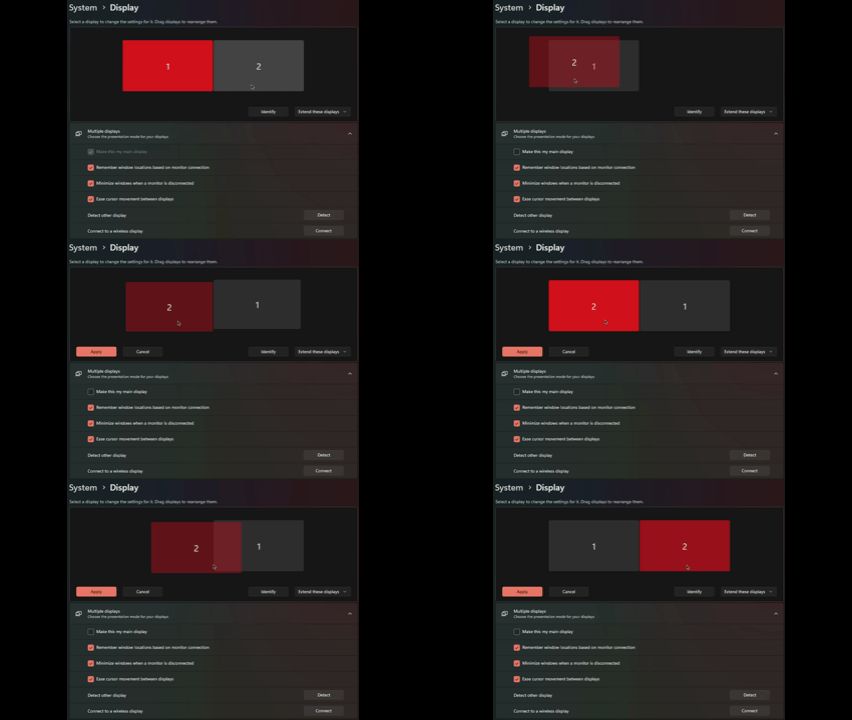
- Identify and Arrange: In the Display settings window, you’ll see your monitors represented as numbered boxes. Click the “Identify” button to see which number corresponds to each physical screen. You can then drag and drop these boxes to match the physical arrangement of your monitors. This ensures your mouse moves logically between screens.
- Choose Your Display Mode: Scroll down to the “Multiple displays” section and choose how you want to use your screens:
- Extend these displays: This is the most common option, creating a continuous desktop across all your monitors.
- Duplicate these displays: This shows the same image on all screens, which is useful for presentations.
- Show only on 1 or Show only on 2: This will disable the other monitor.
- Set Your Main Display: Select the monitor you want as your primary screen (the one with the Start menu and taskbar by default) and check the box for “Make this my main display.”
- Adjust Scaling and Resolution: For each monitor, you can individually set the “Scale” (the size of text, apps, and other items) and the “Display resolution.” It’s generally best to use the “Recommended” settings for both.
Performance Considerations
A common question when adding more screens is whether it will slow down your computer. The short answer is: it depends, but for most modern systems, the impact is minimal for everyday tasks.
- GPU Load: Adding monitors does increase the workload on your Graphics Processing Unit (GPU), as it needs to render more pixels and manage the display data for each screen. This uses more VRAM (Video RAM).
- General Use: For tasks like web Browse, email, and using office applications, modern graphics cards (even integrated ones) are generally powerful enough to handle multiple monitors without a noticeable slowdown.
- Gaming and Intensive Applications: The performance impact is more noticeable when running resource-intensive applications, particularly gaming.
- If you are gaming on one monitor while having static content (like Discord or a web browser) on another, the performance dip is usually negligible (a few FPS at most).
- However, if you are running dynamic, demanding content on the secondary monitors—such as streaming high-resolution video or running other 3D applications—while gaming on the primary monitor, you may see a more significant drop in your game’s frame rate (FPS). The GPU has to divide its resources to handle all active content.
- Mitigating Performance Loss:
- Use the Integrated GPU (If Available): If your CPU has integrated graphics (iGPU), you can connect your secondary monitors to the motherboard’s display outputs instead of your dedicated graphics card. This offloads the task of running the secondary screens from your main GPU, reserving its power for intensive tasks like gaming on the primary monitor. You may need to enable the iGPU in your BIOS settings.
- Optimize Settings: Ensure your drivers are up-to-date. Windows 11 is also improving how it handles different refresh rates on multiple monitors, which can help optimize resource usage.
Common Issues and Quick Fixes
Even with a straightforward setup, you might encounter some hiccups. Here are some common problems and how to solve them.
My second monitor isn’t being detected.
- Check your connections: Ensure all cables are securely plugged into both the computer and the monitor.
- Manually detect: In “Display settings,” under the “Multiple displays” section, click the “Detect” button.
- Update your graphics drivers: Outdated or corrupt graphics drivers are a frequent cause of display issues. You can update them through the “Device Manager” in Windows.
- Restart your computer: A simple reboot can often resolve detection problems.
The display on my monitors looks blurry or the wrong size.
- Check the resolution: In “Display settings,” ensure each monitor is set to its native (recommended) resolution.
- Adjust scaling: If text and apps appear too large or too small, adjust the “Scale” percentage for each display until it’s comfortable to view.
My mouse doesn’t move correctly between screens.
- Rearrange your displays: Go back to “Display settings” and ensure the numbered boxes representing your monitors are arranged in the same way they are physically set up on your desk.

(Each number represents your monitors, if you click and drag you can move each monitor around, this will effect how your mouse and content will move between each side of your screen!)
The taskbar isn’t showing on all monitors.
- By default, Windows 11 shows the taskbar on all displays. If it’s not visible, right-click the taskbar, select “Taskbar settings,” and under “Taskbar behaviors,” ensure “Show my taskbar on all displays” is checked.
By following these steps, you’ll be well on your way to enjoying the enhanced productivity and immersive experience that a multi-monitor setup provides in Windows 11.
If you have any questions or problems when setting up your monitors, feel free to leave a comment and the community will try to help you the best we can!


